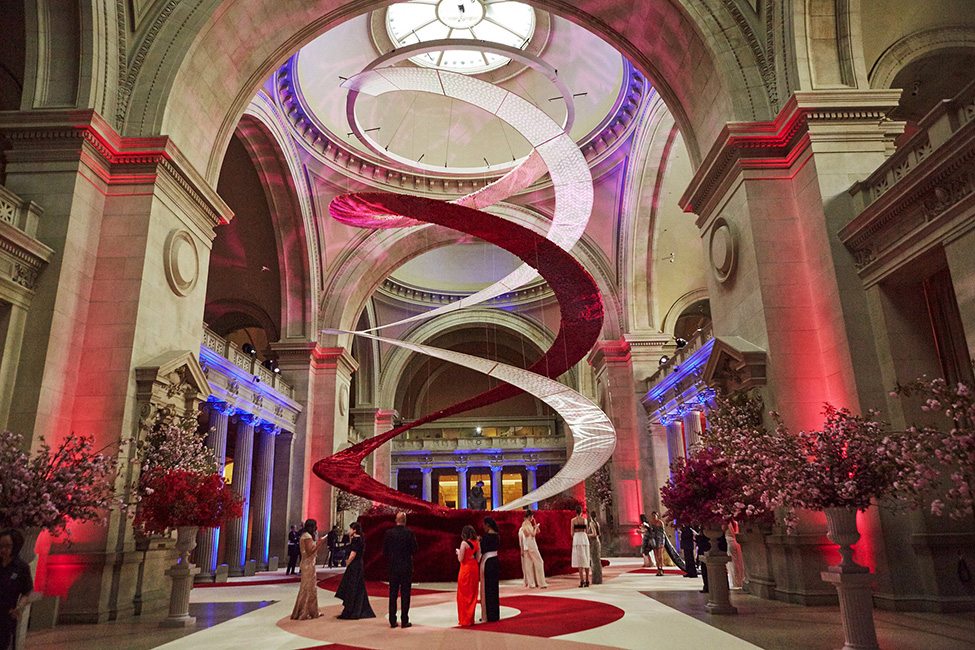
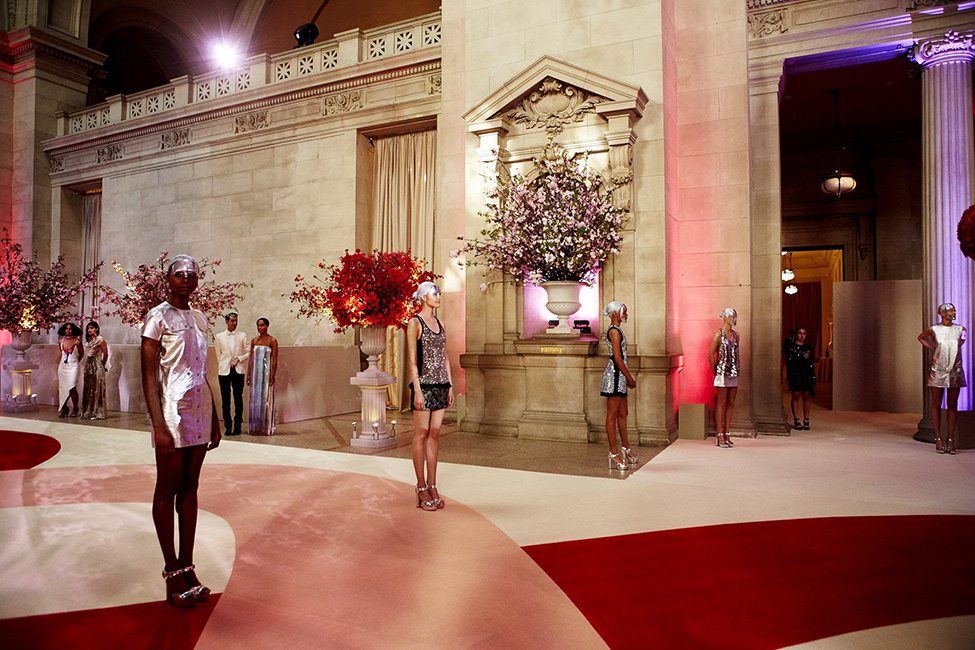
We have spent the last few days swooning over the decor and dresses seen at this years Met Gala. The theme, “Manus x Machina: Fashion in the Age of Technology” inspired stunning looks on the red carpet (from Claire Danes light up gown to Emma Watson’s sustainable dress made of recycled bottles!) as well as eye catching event decor. The 65 foot double helix inside the Metropolitan Museum’s Great Hall was made of 80,000 red roses, 200,000 silk roses and laser cut lace. Talk about a focal point!
Vogue captured the installation process on Instagram!
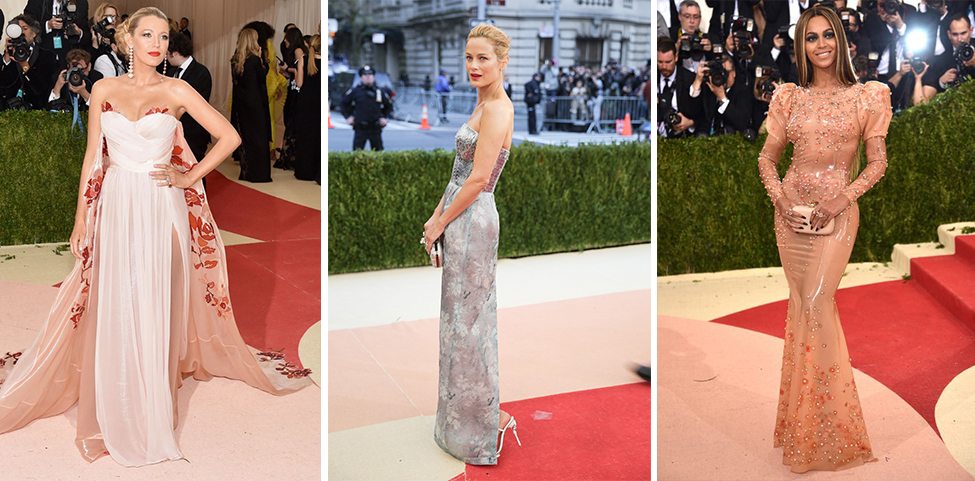
Pictured Left to Right: Blake Lively in Burberry, Carolyn Murphy in Oscar de la Renta, Beyonce in Givenchy
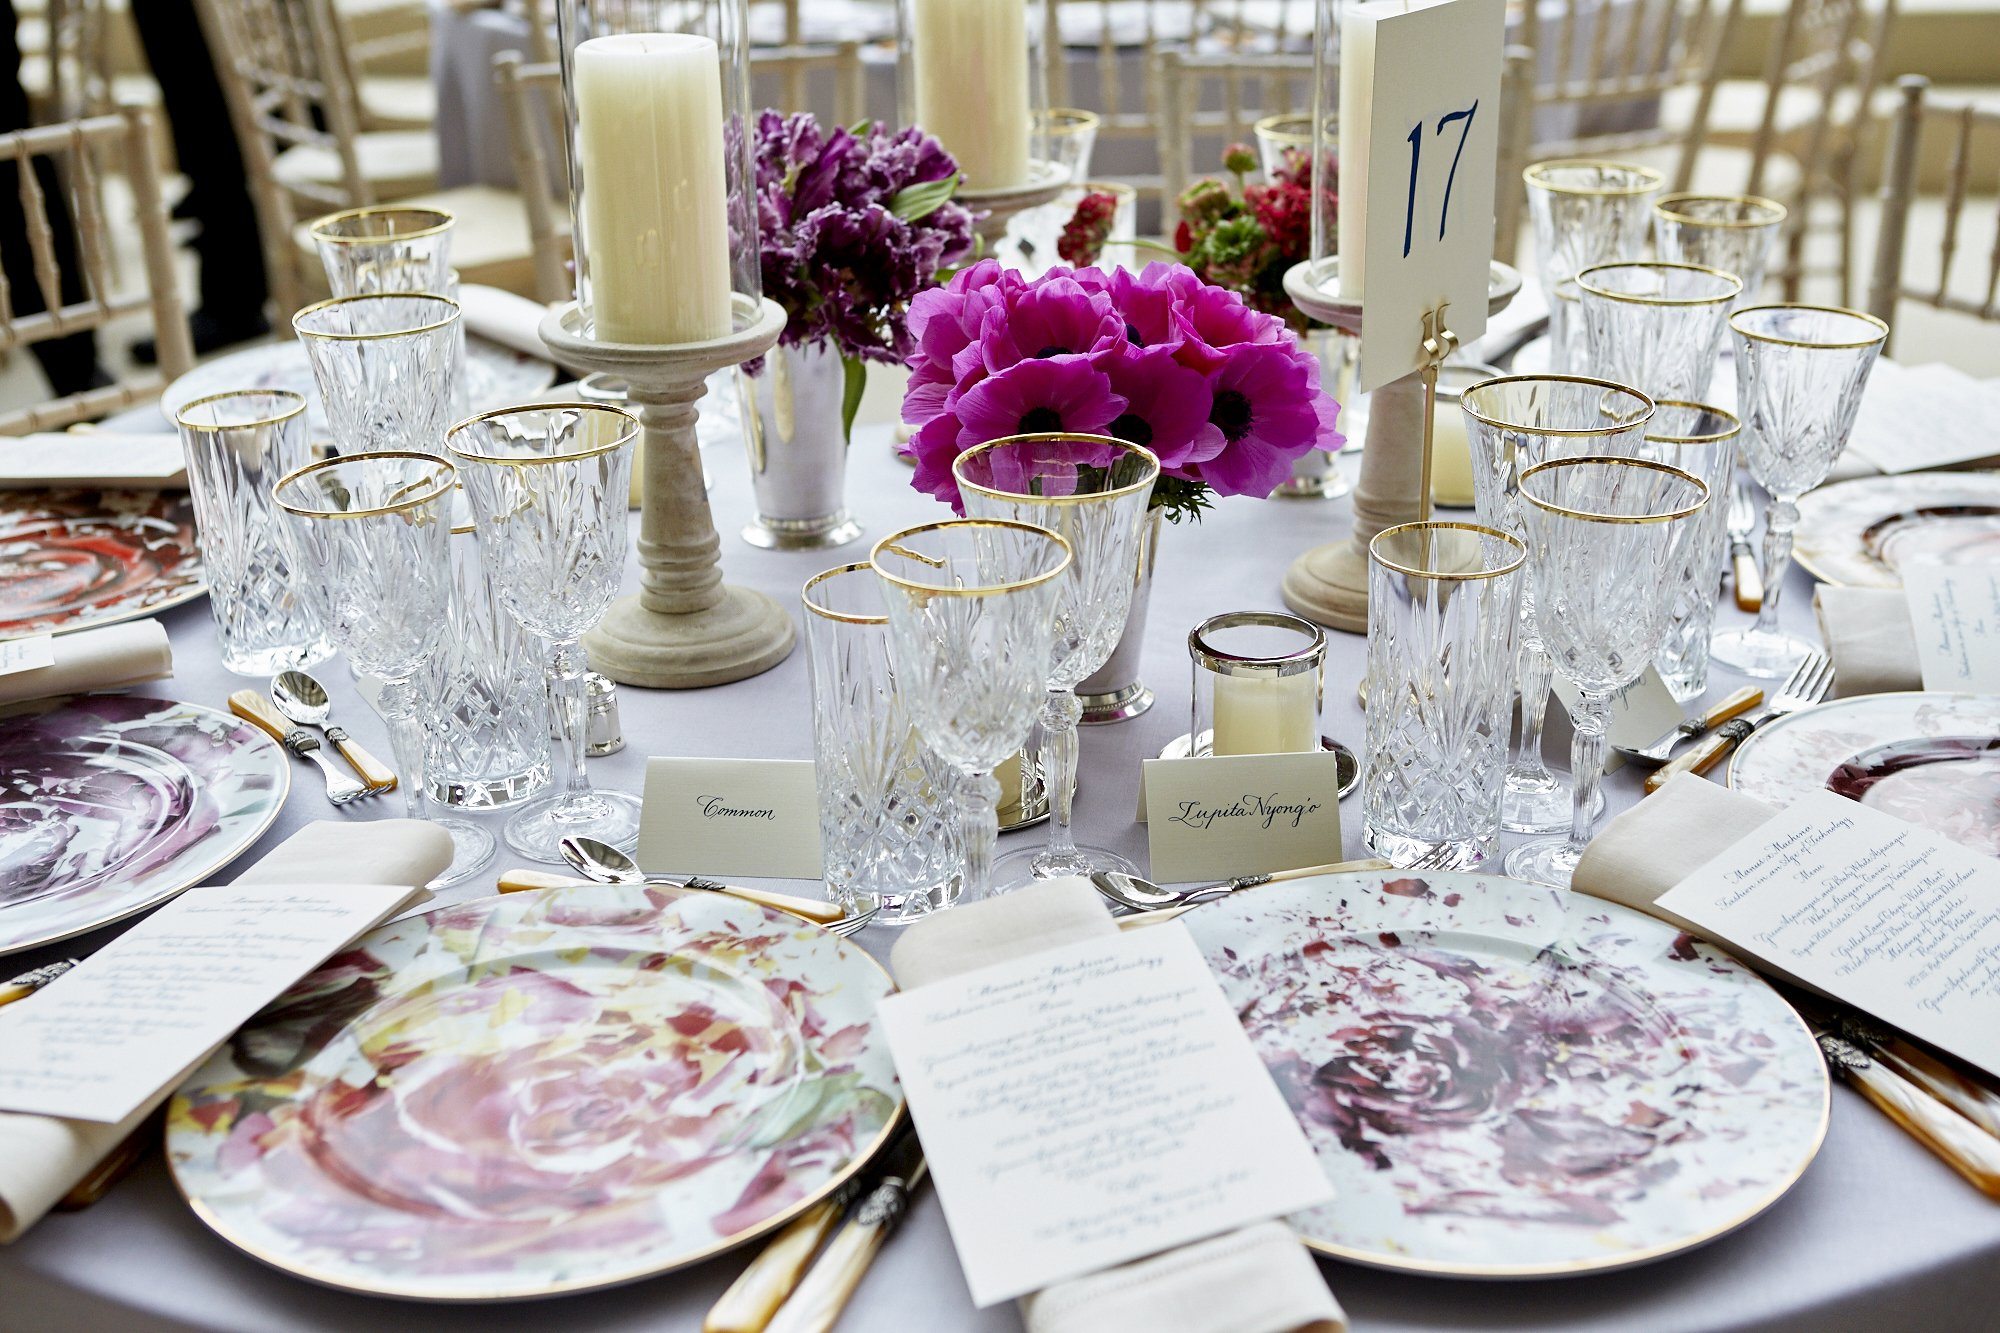
The prettiest place settings. Pale blue and lavender linens allowed the custom designed charger plates to take center stage.
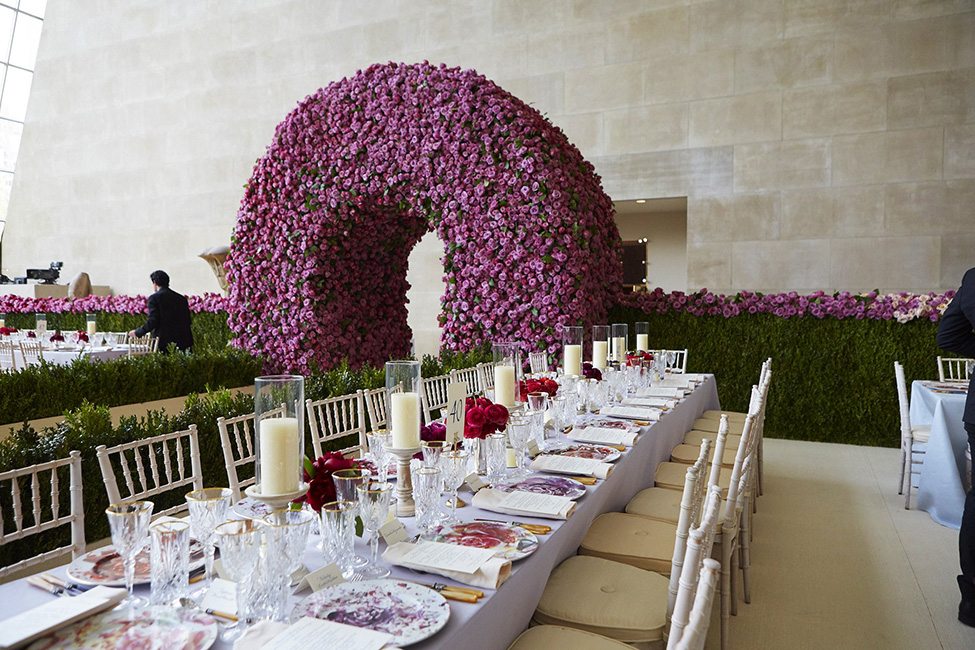
Guests entered dinner through a dreamy wall of roses!
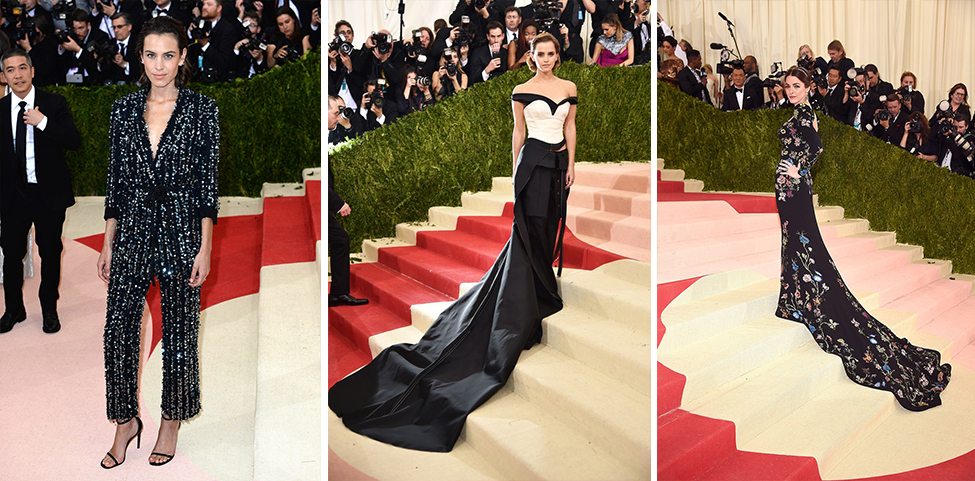
Pictured left to Right: Alexa Chung in Thakoon, Emma Watson in Calvin Klein, Bee Schaffer in Alexander McQueen
The evening’s theme and the sartorial choices on the red carpet perfectly capture how design and technology are not mutually exclusive. The gala looked like another unforgettable celebration!
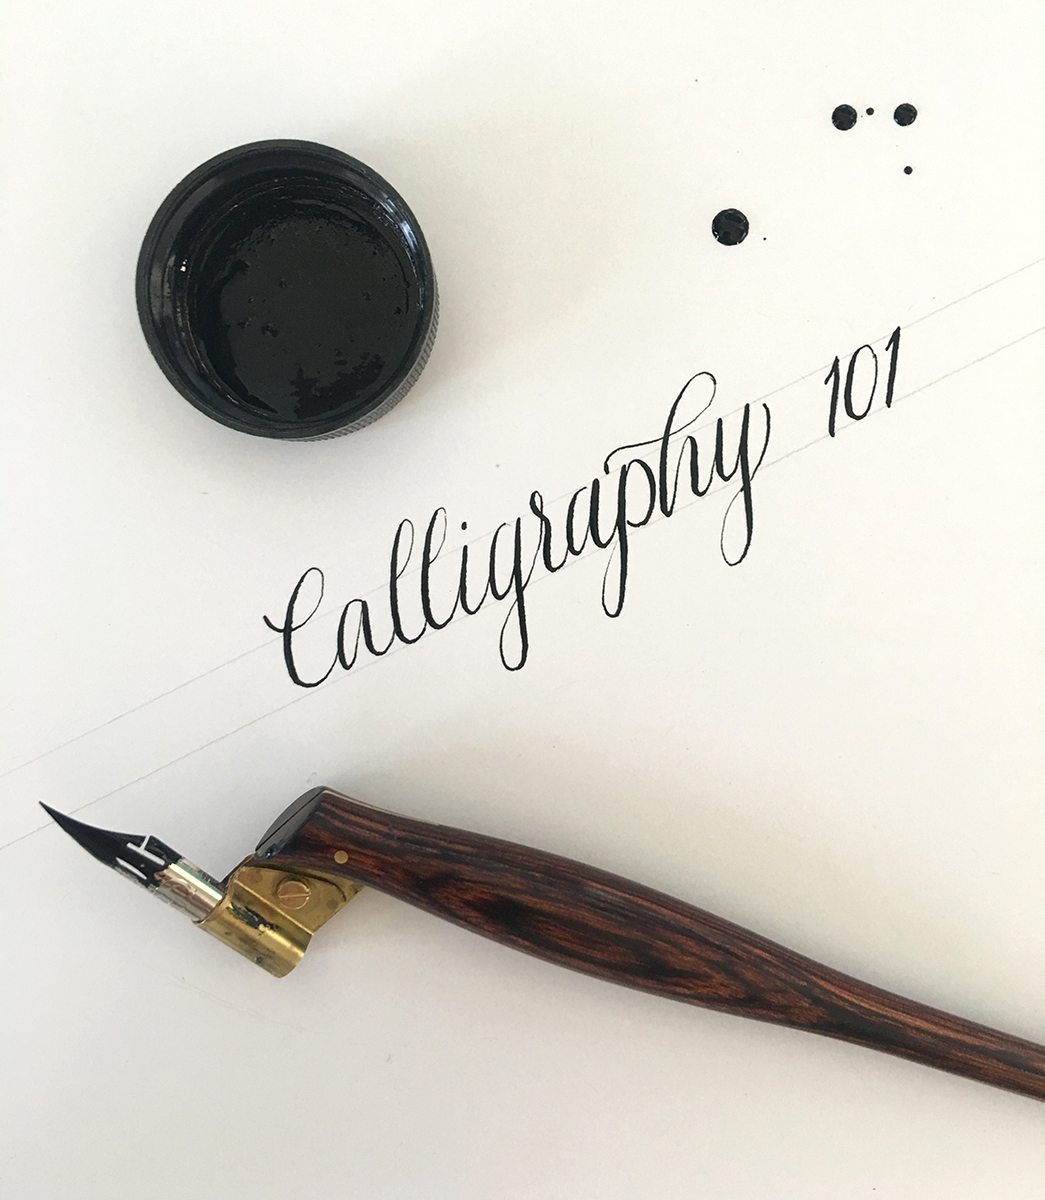
You may have found yourself longingly admiring the beautiful hand lettering or calligraphy that you’ve surely been seeing all over social media, and wondering to yourself, “How can people do that?” A Day in May’s Emily has been dabbling in the art of calligraphy for a couple of years now and has some tips, tricks and helpful hints to getting started.
Image via Laura Hooper Calligraphy
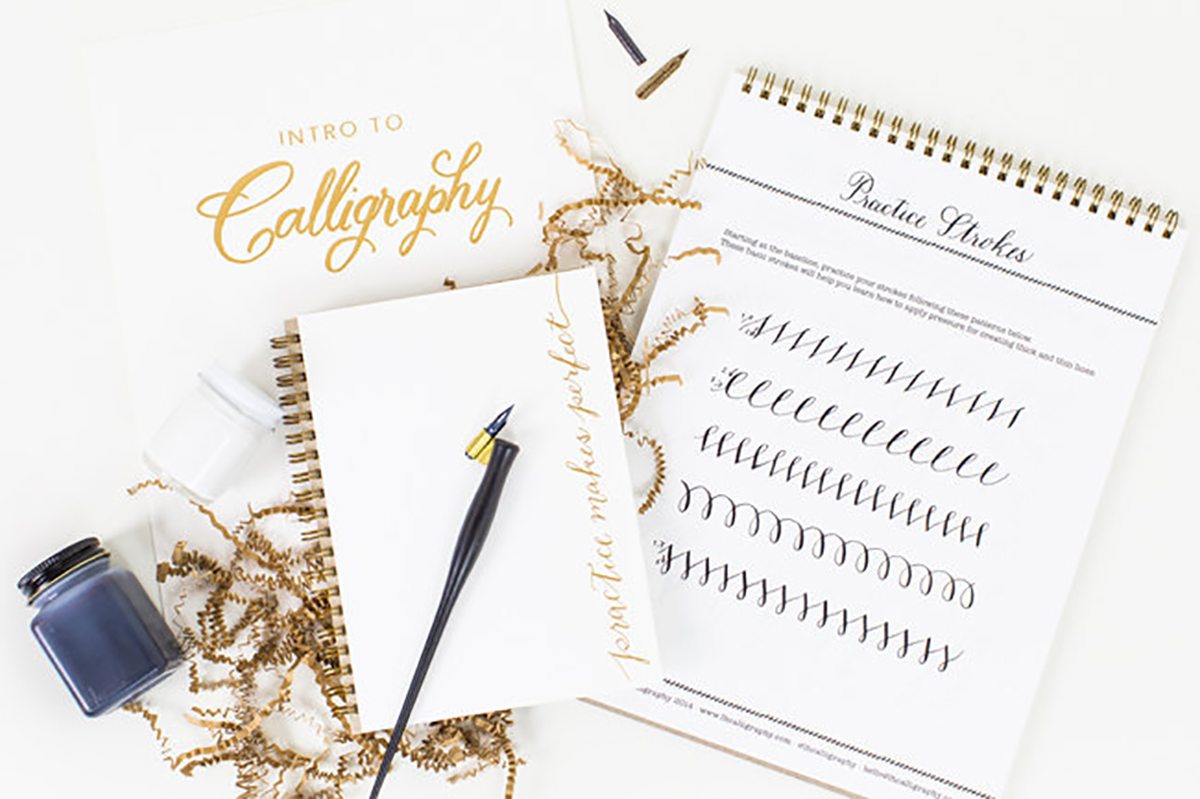
Take the leap!
First and foremost, the best way to get started in calligraphy is to have the right set of tools in your kit. Emily started with Laura Hooper’s Calligraphy Starter Kit from her online shop and she’s never turned back! Packed with a selection of nibs, ink, an oblique pen holder (wait, what?… Don’t worry, we’ll get to that) a customized pad of sketch paper and some helpful literature, Laura’s kit is a great way to hit the ground running…er…writing.
You don’t need to have good handwriting to be a good calligrapher.
We hear this a lot “Oh I can’t do calligraphy, I have terrible hand writing!” It’s a common misconception that calligraphers have beautiful handwriting in all avenues, and this just isn’t the case. Any calligrapher hopefuls out there need-not worry that they don’t have what it takes, based on their daily handwriting. Give it a try and you may just surprise yourself.
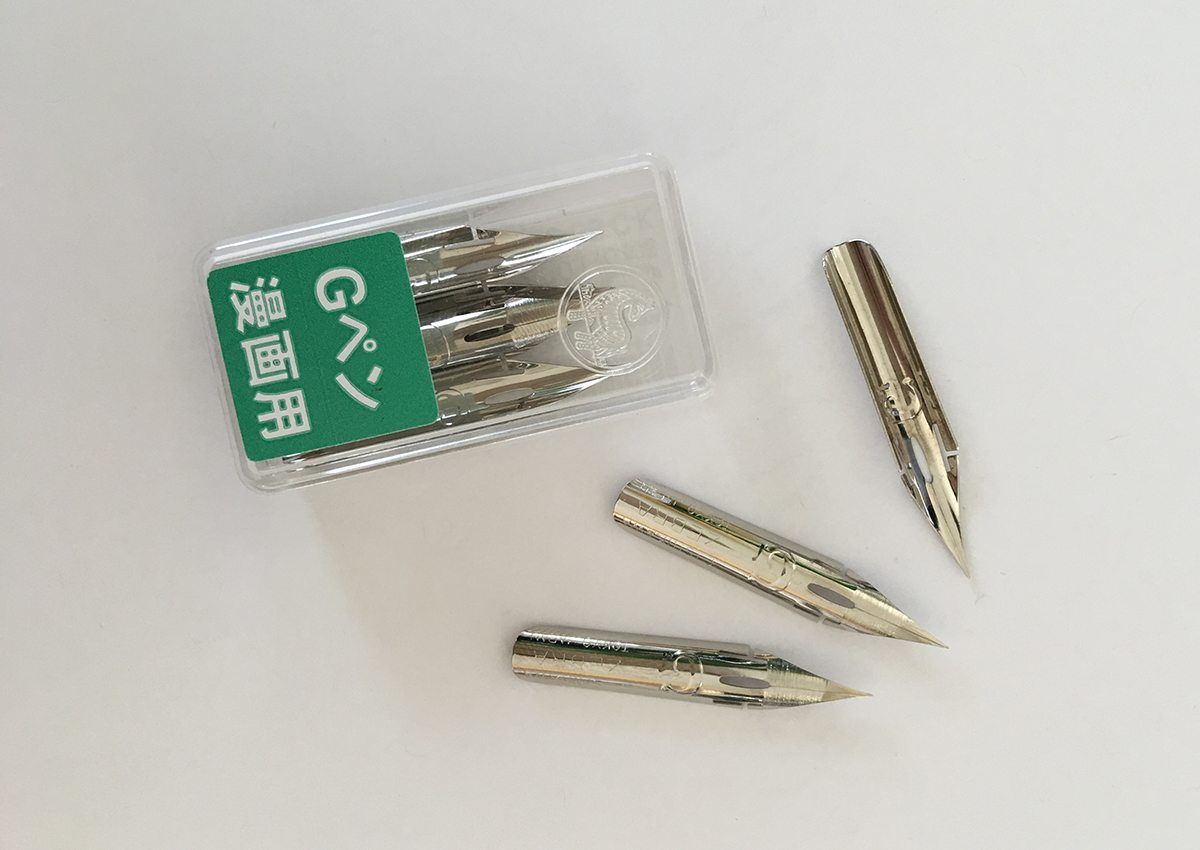
Not all nibs (and pens) are created equal.
Nibs are beautiful little metal pieces, created to hold and spread ink with the pressure of your hand. There are just short of hundreds to try, but you’ll find that there are some you’ll gravitate towards with trial and error. Emily’s favorite nib is the Nikko G Zebra. Although it is considered to be one of the more rigid nibs, meaning it takes more pressure to spread ink, it’s incredibly smooth and very user friendly – great for starting out!
Now, we know that a nib isn’t all that you need to get started on your calligraphy endeavors. You may have noticed this wonky little pen that has a little angle at the end to it. This is referred to as an oblique pen holder and it’s a dream come true. It may seem odd to think about holding a pen that doesn’t directly make straight contact with your paper, but trust us – let the oblique pen do the work for you. The position of the pen allows angles of writing to be captured that might otherwise be difficult to achieve. Get yourself an oblique pen holder and never look back!
Knowing your center takes time.
If you’re looking to calligraph envelopes, you’re going to want those beauties centered. Knowing how long a word is going to be, keeping it straight and trying to center it on a piece of paper is hard enough. Knowing how long six words together look on a piece of paper, stacked five lines tall and then attempting to center that is even harder. Unfortunately there’s no quick trick to speedy envelope calligraphy. There are wonderful objects like light tables that would allow you to use tracing paper to perfect your flourishes, however when you’re working on 200 envelopes for guests, you may not really have the time to pre-write all of their addresses. Take your time, practice as much as your schedule allows and believe in the process of repetition.
Don’t let the pressure get to you!
One of the first experiences you will have when trying your hand at calligraphy is the understanding that pressure is going to mean a whole lot more than it does when you’re writing with your favorite ball point pen. The nature of a nib allows ink to flow more rapidly when more pressure is applied, spreading the two pieces if your nib apart from one another. However a lighter pressure is needed upon the upstroke of writing a letter to create a very thin line. This upstroke is indeed a training exercise. You may find yourself shaking your fists after your nib catching on your paper and splatters gouache (a mixture of paint and distilled water) all over your beautiful envelope. Have no fear – you will become accustom to the feel and angles and above all, use pressure that works for you and your nib.
Practice makes perfect (and permanent).
Back in grade school when we were taught how to write in cursive, we’re taught to practice our letters over and over again. We were taught the height ratio between uppercase and lowercase letters, how far apart words should be from one another and the fun little tails that some characters had. Practice makes perfect, our teachers would say. Well, the times they are not a-changing. Practice does make perfect and it definitely makes permanent. Make sure that you are creating good, consistent lettering styles while you practice will help your hand to remember what that beautiful letter ‘H’ looks like.
So get out there, calligrapher hopefuls! Don’t be afraid to make a mess and get started on a beautiful relationship between artist and tool.
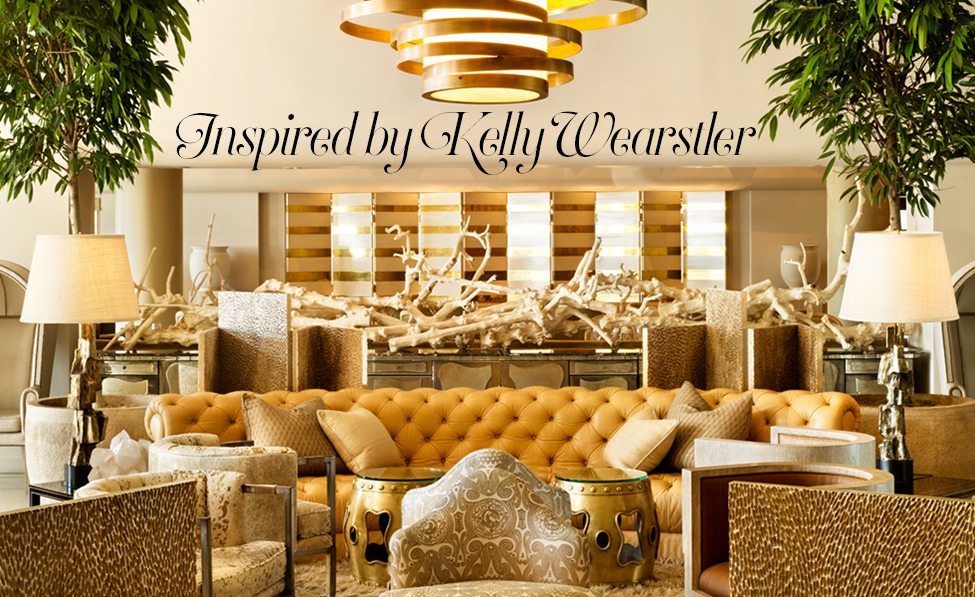
One of our favorite designers and biggest inspirations at ADIM is world renowned designer Kelly Wearstler. Rightfully hailed as the queen of west coast interior design, we adore her distinct style and comprehensive approach to design. Mixing styles, textures, color and pattern, Kelly weaves intricate, compelling stories into her luxurious, modern designs. From the stunning Viceroy hotel properties and her colorful books (favorites on our bookshelves in the office!) to her Paperless Post collection, Kelly Wearstler is truly an icon who adds style and beauty to everything she does. Here are a few of her projects that are currently inspiring us!
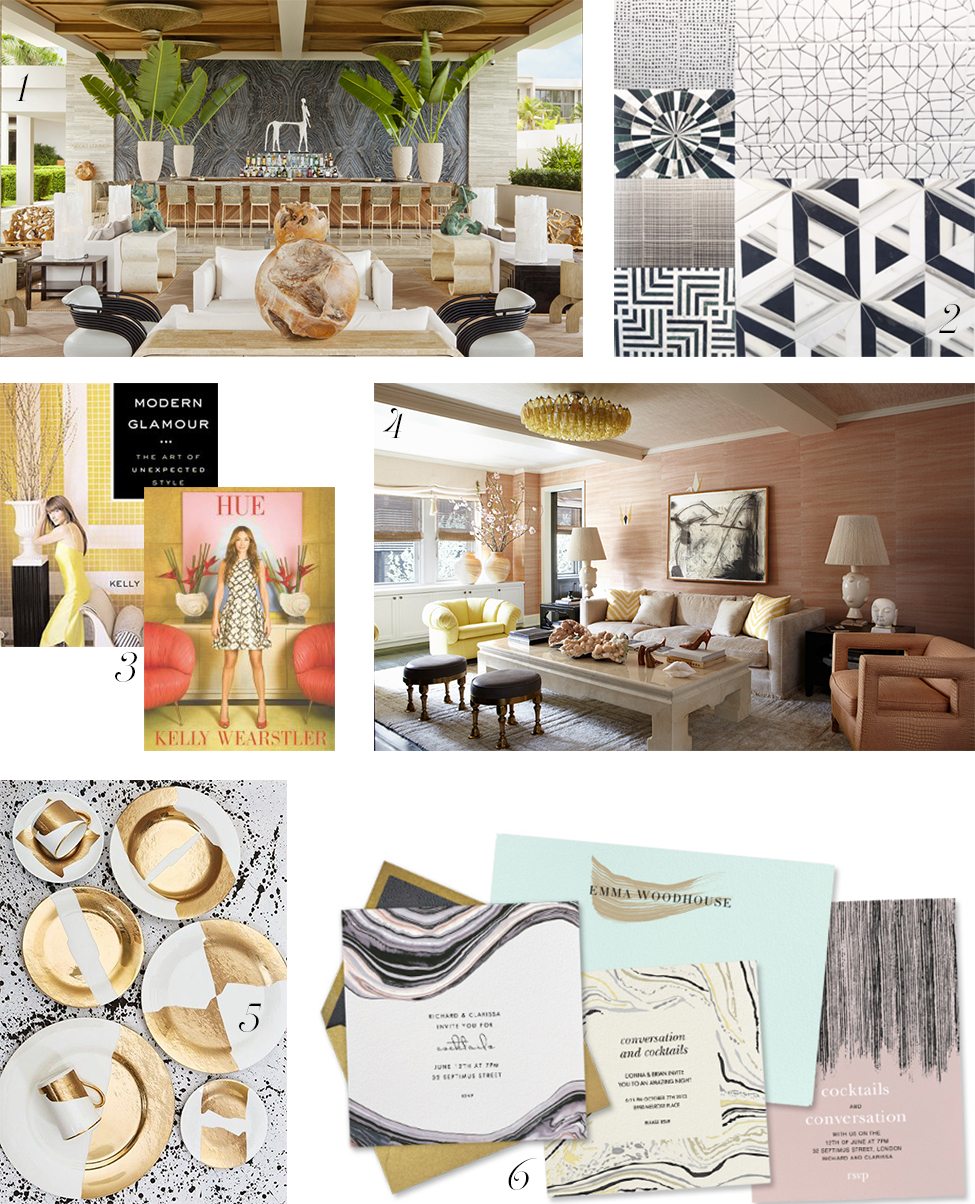
The Viceroy Anguilla (after the snow we had this weekend, we are dreaming about vacationing here!)
Kelly Wearstler’s Tile Collection for Ann Sacks – We love the pattern play of these spirited, geometric designs!
Modern Glamour and Hue – Two essentials for any designer’s bookshelves!
Kelly Wearstler Interiors, Residential Manhattan Apartment – this entire project is dreamy from the stunning neutrals to the bold emerald kitchen!
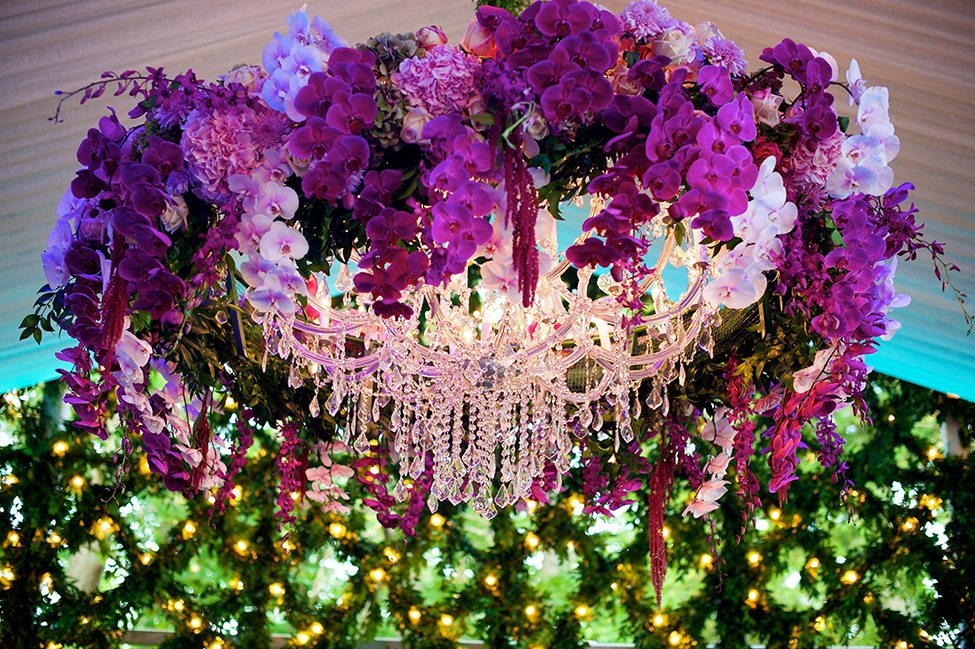
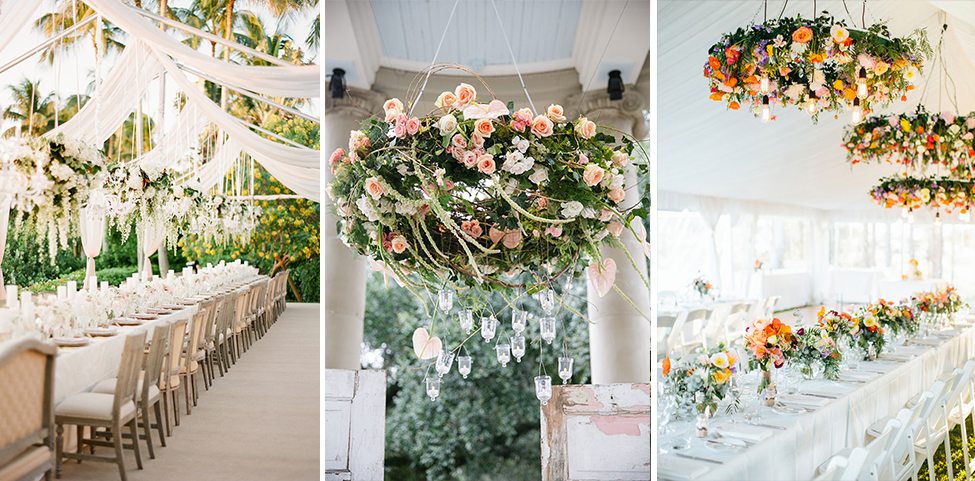
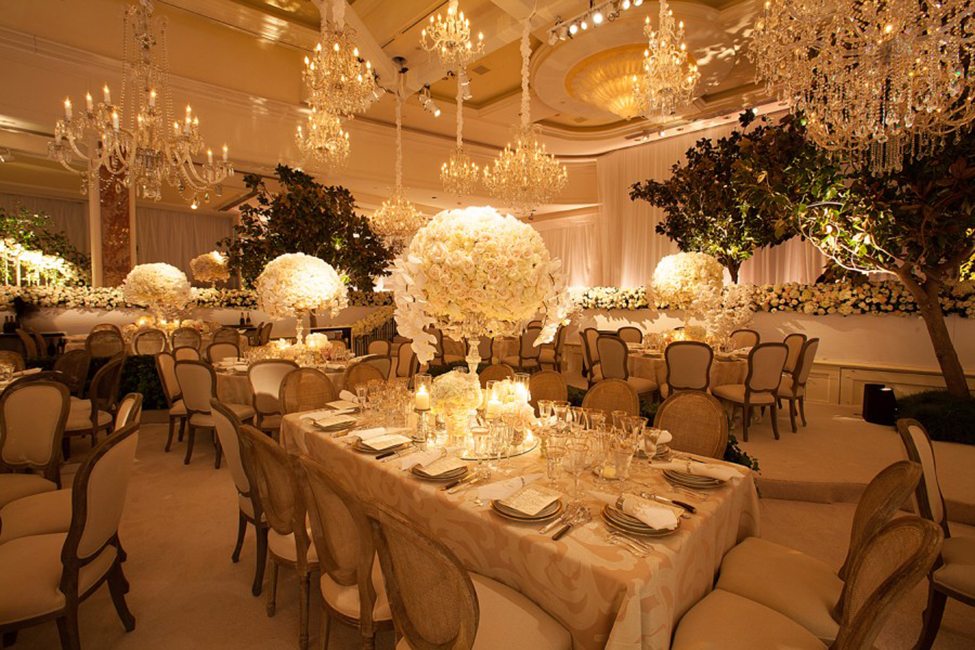
There is nothing more magical than entering an event space and seeing a glittering chandelier floating in the air. These luxurious fixtures can be elevated further by adding floral embellishment. Suspended floral designs add visual interest to a space and they are truly breathtaking! The image above is from one of our favorite reception designs (you can see more in our event gallery here). The floral chandeliers were truly show-stopping and left guests awe-struck by their beauty. The following images contain some of our favorite suspended floral applications. We assure your obsession will be in full bloom after taking a peek!
Image on Left by KT Merry, Center Image by Greer G Photography, Image on Right by Finch & Oak
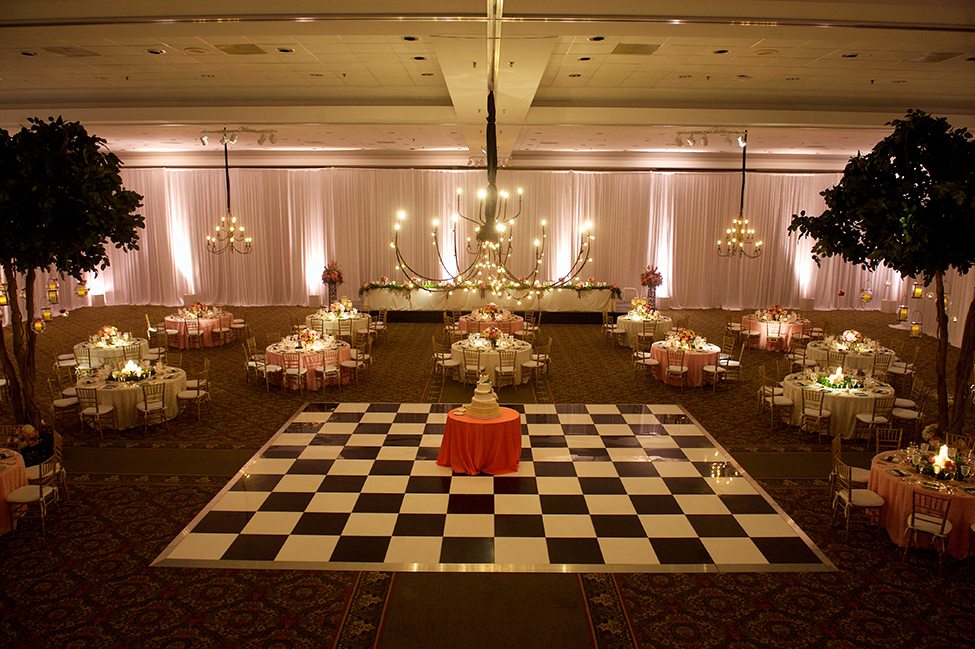
Floral chandeliers can be used to define a space. For instance, you might anchor one above your ceremony altar where you exchange “I Do’s” with your groom or perhaps you place a breathtaking chandelier directly above your dance floor where you share your first dance! A chandelier dressed in stunning blooms will serve as the perfect focal point!
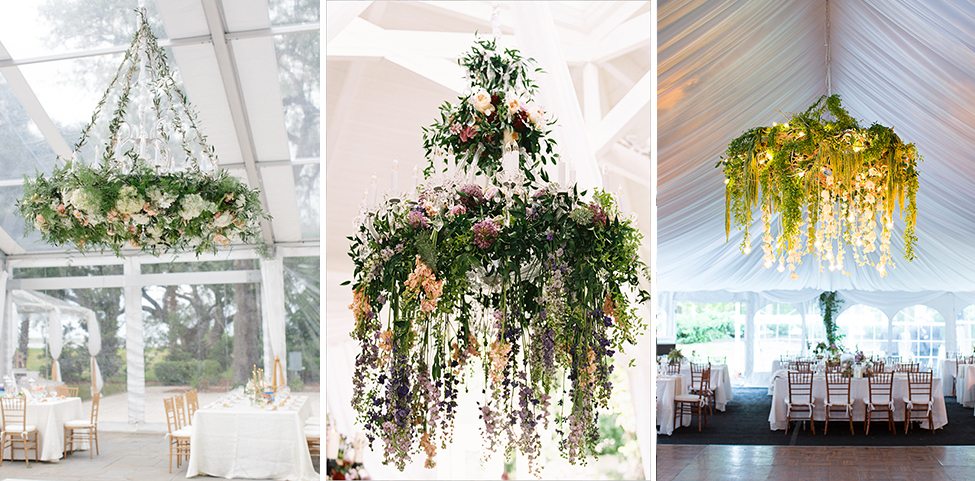
Image on Left by Paige Winn Photo, Center Image by Austin Gros, Image on Right by Brooke Courtney Photography
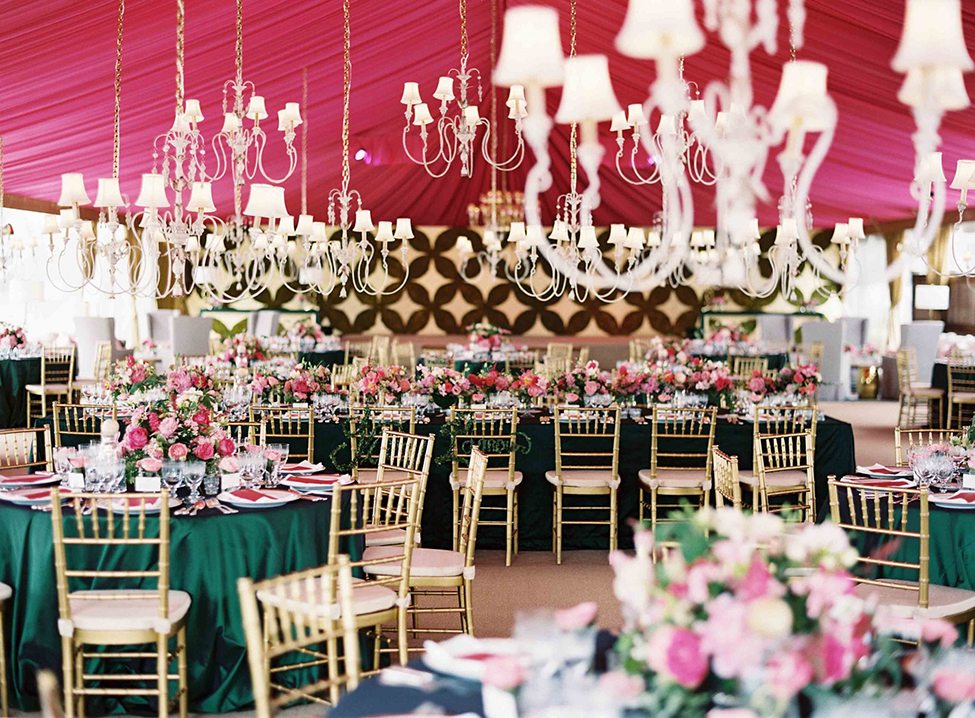
By taking a gorgeous wrought iron or crystal chandelier and adorning it with greenery or floral varieties, you have the ability to transform a space and create the environment you envision for your celebration. For a classic look you might embellish your fixture with feminine blooms like peonies and hydrangeas, whereas cascading vines and natural elements will create a more rustic tone.
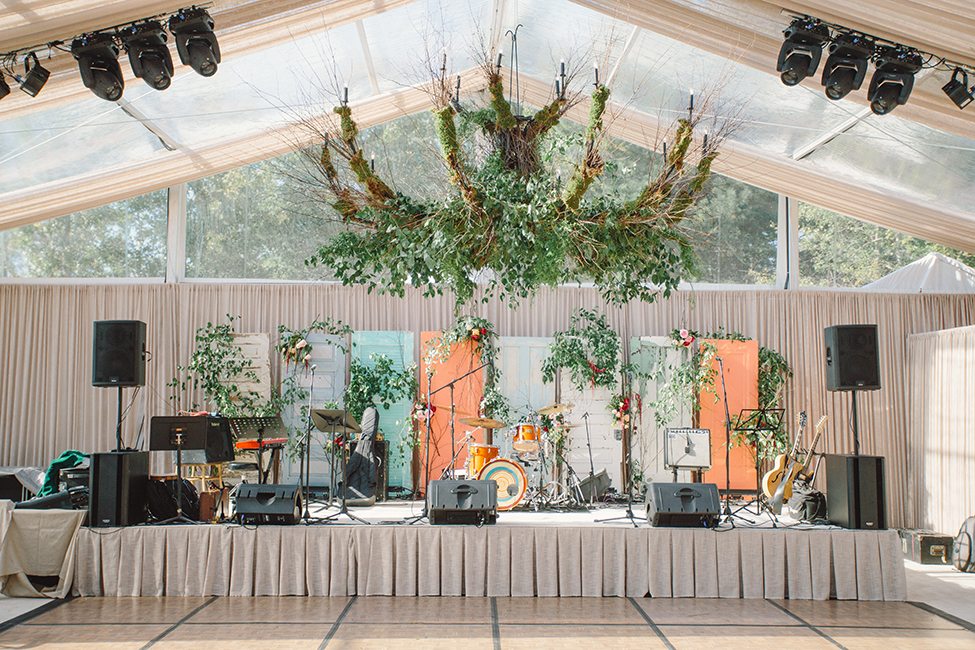
Image by Jeremy Harwell
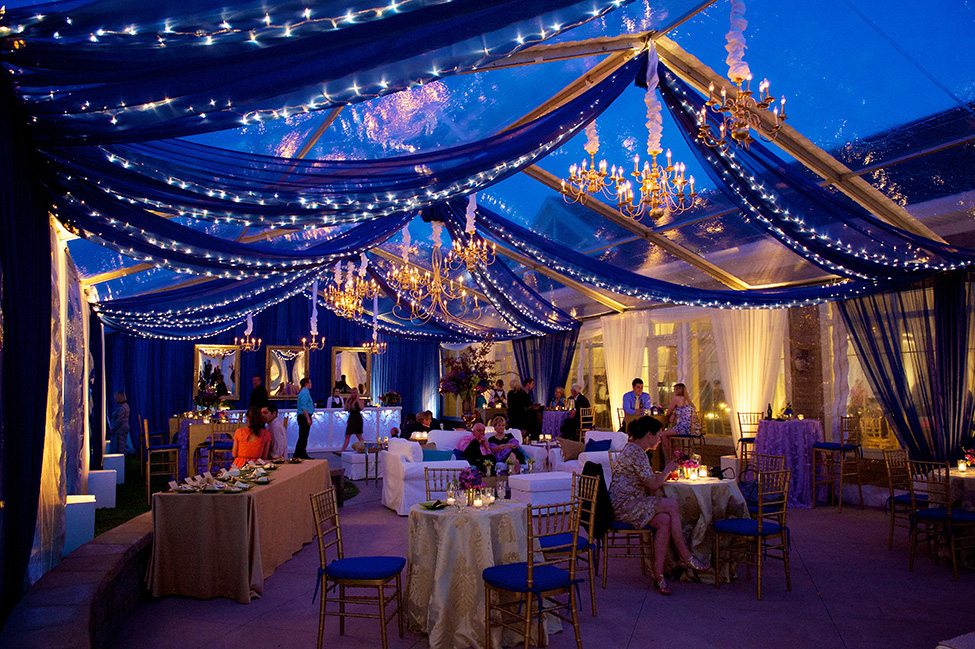
At this particular lakeside reception (the full gallery can be viewed here!), three oversized chandeliers were adorned with seasonal birch branches, moss, and smilax vine. It set the tone for this wedding that was centered upon effortless, natural beauty. Whichever style you envision for your special day, you might consider consulting with your floral designer about incorporating some of these stunning suspended floral fixtures. They are sure to be a hit and keep your guests talking and lovingly reminiscing for years to come!
When designing a space for a client, we put a lot of thought into the “big three”- draping, linens and lighting. These three things alone can be the most transformative to a space and also provide the biggest impact and wow factor if done just right. When looking at lighting specifically, we like to classify lighting into the following categories: Perimeter, Spot, Task and Overhead.
Perimeter Lighting– Simply put, these are lights that are placed around the perimeter of a tent or interior space. For most of our events, we use perimeter lighting to provide a soft, ambient glow in the room. As the sun sets on the event at an outdoor, tented location, the perimeter lighting brightness is slowly increased, enveloping the room in warmth. Colored gels (thin sheets of polycarbonate or polyester, placed in front of a lighting fixture in the path of the beam; thanks Wikipedia) can be added to the fixtures to coordinate with the overall event décor and soften the glow even further.
Spot Lighting– We’re all familiar with spot lighting from a theatrical or on-stage application, but we’re here to tell you that we also use spot lights for the majority of our events (albeit the beam is a bit smaller and doesn’t follow the target). These static fixtures are placed appropriately to illuminate the centers of tables. If used correctly, spot lighting fixtures enhance the centerpiece décor and make the table appear to be illuminated from within. Spot lighting can also be used to draw attention to important accent pieces- menu boards, wall décor, shelving displays, etc.
Task Lighting– You guessed it; task lighting is used and needed to complete a task. In your home, think of the lamp on your end table that helps you to read your favorite book or magazine. In an event application, task lighting often applies to food and beverage staff and the “back of house” areas. You wouldn’t be expected to work without the appropriate lighting, so why would your vendors? Task lighting isn’t pretty- most of the time it’s placed in areas that are not visible to guests- but it’s necessary. After all, I don’t think you’d be pleased if the red pepper coulis- prepared to accompany your pan seared trout- and the fresh summer strawberry sauce- created for your miniature cheesecakes- got mixed up in the kitchen all because the caterer did not have enough lighting to properly perform the task at hand.
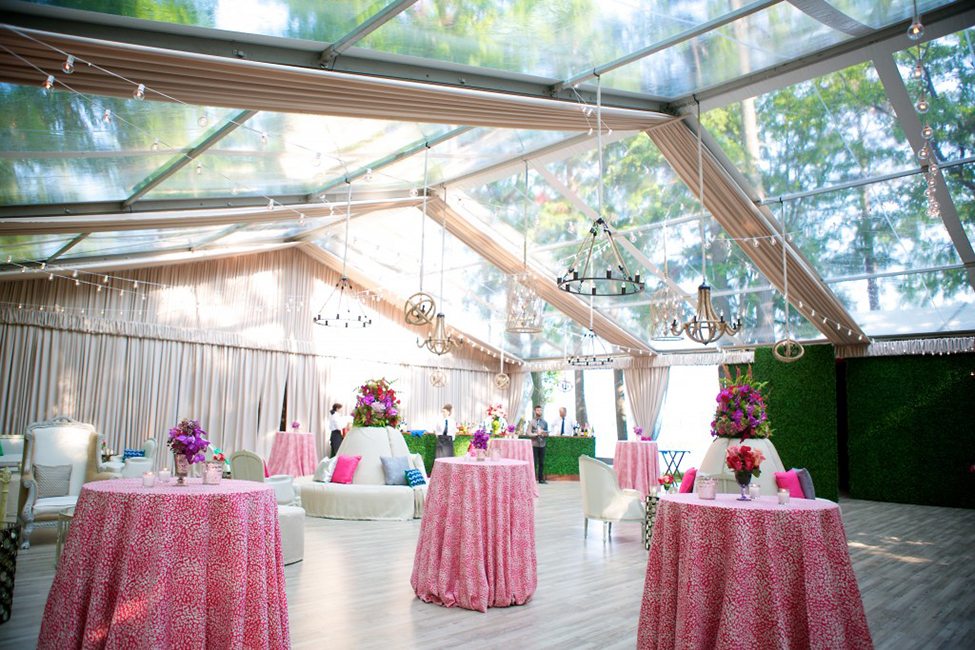
Overhead Lighting– Looking to make an impact or provide a fun, decorative accent? Then you’ll love incorporating overhead lighting into your event space. There are so many products available that the options are truly endless. From nautical inspired, rope wrapped chandeliers to traditional, stately gold metal chandeliers, there is sure to be an overhead lighting option that suits your event style. Perhaps you’re having trouble finding exactly what you’re looking for; big box stores like West Elm, Crate & Barrel, World Market and other online sources like Etsy and Wayfair host a treasure-trove of lighting pieces.
The different types of lighting each have a purpose. When combined together at an event, lighting can transform the space from drab to fab by further enhancing and drawing attention to all of the beautiful details that are so important to you (amazingly beautiful, moody photos are an added perk!).